Promotions are one of the best ways to inspire customers to purchase from your Artist Shop. Seriously, as a consumer, we all love to save money where we can, and even a small deal is better than no deal.
Below is a step-by-step guide covering four simple and easy ways to run a promotion in your Artist Shop!
1. Run a Sale for your Entire Shop
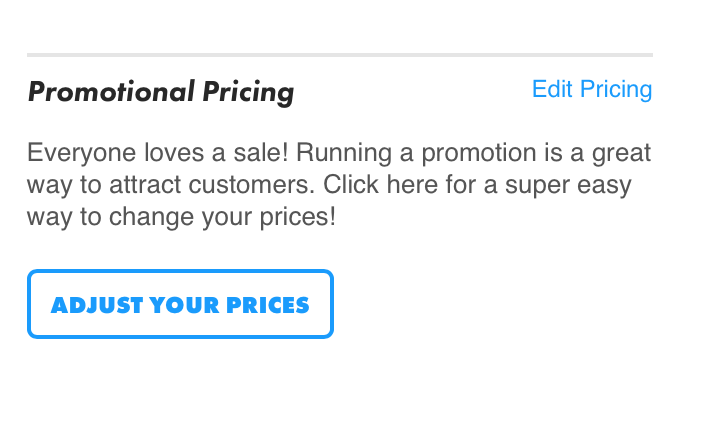
From your Artist Dashboard, click on Adjust Your Prices from the Promotional Pricing window.
That brings you to the Global Pricing Tool. From this page, you can use either the number field or slider to select your sales percentage for your entire Shop! You can also choose to round your sales prices to the nearest dollar, .99, .95, or .50 cents.
Just like regular pricing, the tool will display a real-time pricing preview showing your sale price, the original price in strikethrough font, and your new artist earnings.
To go back to the original default pricing, click the Reset Pricing button below the Save Updates button. This will reset your pricing to the default preset sale price of 18% above the base cost.
Once you’ve selected your promotion prices, just click the Save Updates button, confirm your changes, and the Global Price Tool will do the rest.
Prices can take a few moments to completely update depending on the number of products in your Shop. You may see a loading bar in the bottom right corner until all prices are updated.
2. Customize your Artist Shop Header
There are many ways you can customize your Shop to match your brand, art, and overall aesthetic. When you’re running a promotion, it’s important to consider ways you can put your message and your sale front and center.
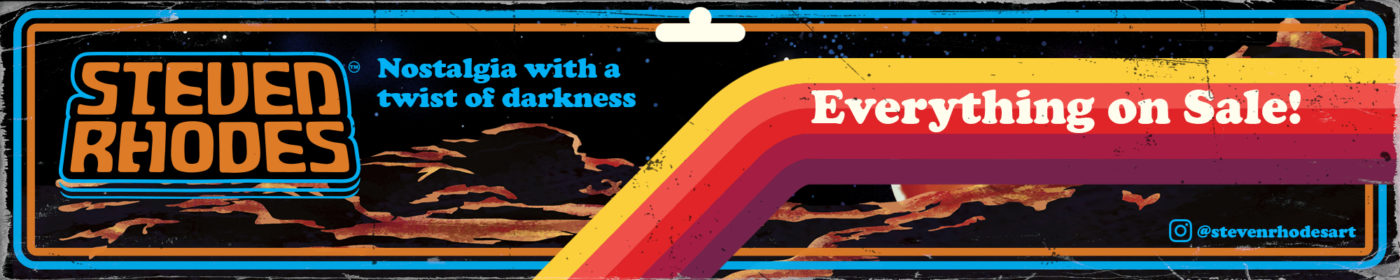
Consider some of these custom headlines to add to your cover image depending on what you currently have on sale.
- $17 Tees!
- Everything is on Sale!
- Wall Art Sale!
- 15% off ALL Home Decor!
To upload your new Cover Image, follow the steps below.

- Head to your Shop URL directly. Click on the tab that says Customize on the top right-hand side to see the options for Layout, Font, or Colors.
- Select Upload a Cover Photo option
- Make certain your photo is 2000x400px and is either a JPG or PNG file
- Upload your file and click Save!
Be sure to save each section separately before moving to a different section if you’re customizing your Shop in multiple ways.
3. Create a Homepage Collection
In addition to your custom cover image, a homepage collection is the best way to make a lasting impression on the folks visiting your Artist Shop for the first time and a great way to offer fresh product and designs to those returning customers.
With the Homepage Collection in your Artist Dashboard, you can curate your designs (that is, move them around) and you can also pick to show designs or actual products with your designs. Show just designs, just products, or mix and match to merchandise your Shop Homepage exactly how you want.
Watch this handy video tutorial or follow the steps below:
To start, log in to your Threadless account and head to your Artist Dashboard. From the left-hand side, select Collections.
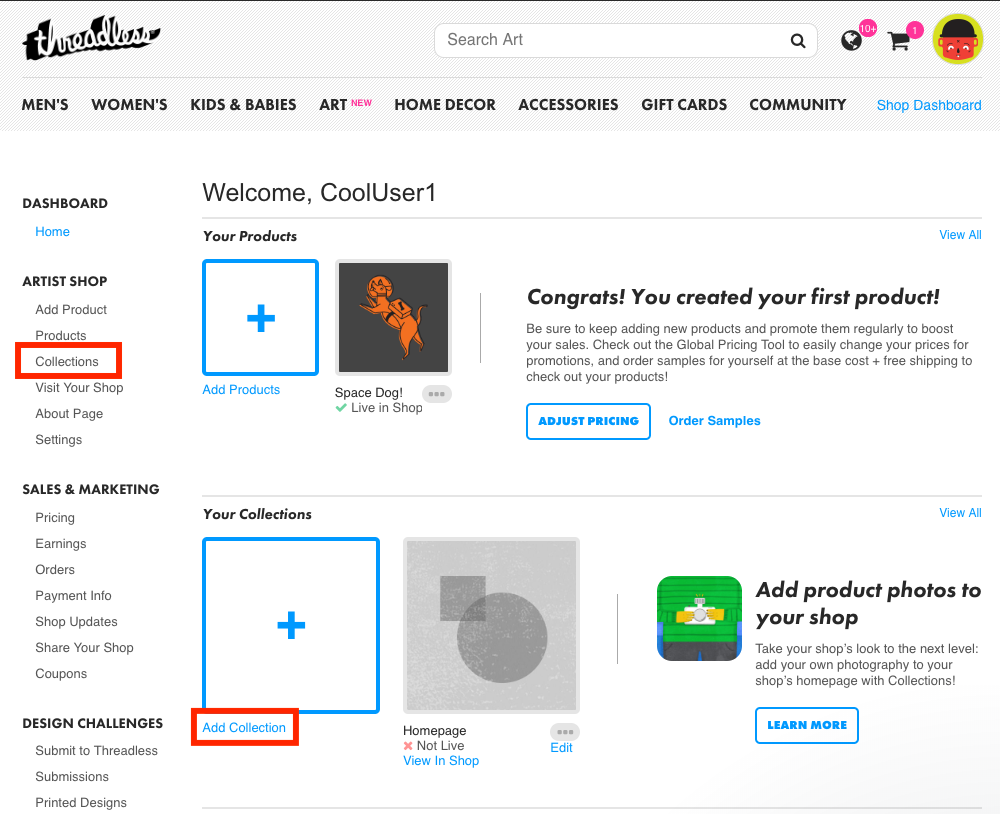
Click Homepage to start customizing your Homepage Collection. Under Add Designs / Products to Your Collection, use the drop-down to select the design that you’d like added to your Homepage Collection
Keep in mind, only visible designs are available to add to your Homepage. If you don’t see a design, make sure you have it marked as Visible instead of Hidden on the Products page.

Now that you have your design, pick whether you want to show the design as an image or on a product.
To show the design as an image: Deselect Add a specific product and select Add to Collection.

To show design on a product: Select Add a specific product. Choose the Department and Style (ie. Men’s T-shirt, Woman’s V-neck) and Color. Then click Add to Collection.

Use the same steps to add more designs or products to your Homepage Collection.

Once you’ve added in all the designs or products you’d like to feature on your Homepage, reorder by dragging and dropping them in any way you choose. Hit Remove to take any out. Once you have everything just the way you like it, click Ready to Publish and you’re done.

4. Send out a few Newsletters
We won’t get too far into how to set up an email newsletter for your Shop because our CEO, Jake Nickell did an awesome job explaining that in our last Creative Resources post. You should definitely read it.
What we can tell you about is this very easy formula to follow when sending emails about your recently launched sale. We’ll keep this brief because there’s a whole other post filled with ideas on How to Create Awesome Email Marketing Campaigns, and these few steps are included.
Sale Announcement Email
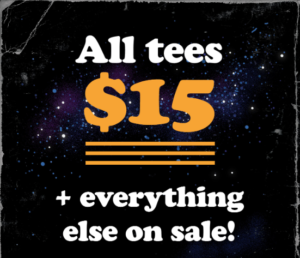
- What is your promo? Use that messaging to create a custom image for your email. Be sure your promotional offer is in your Subject Line and use the Preview Text space to tell your subscribers more about what they can find in your Artist Shop.
- Send yourself a test email. Make sure the messaging, spelling, and links are all accurate.
- Schedule your email! We like to send our emails in the morning before folks are awake, or just as they’re getting up so we are one of the first messages in their inbox.
Sale Reminder Email
- If your promo is one week long, schedule your sale reminder email in the middle of that week.
- For a reminder email, we like to change up the design and also feature specific product/designs that might be trending or new. Try featuring some of your best sellers!

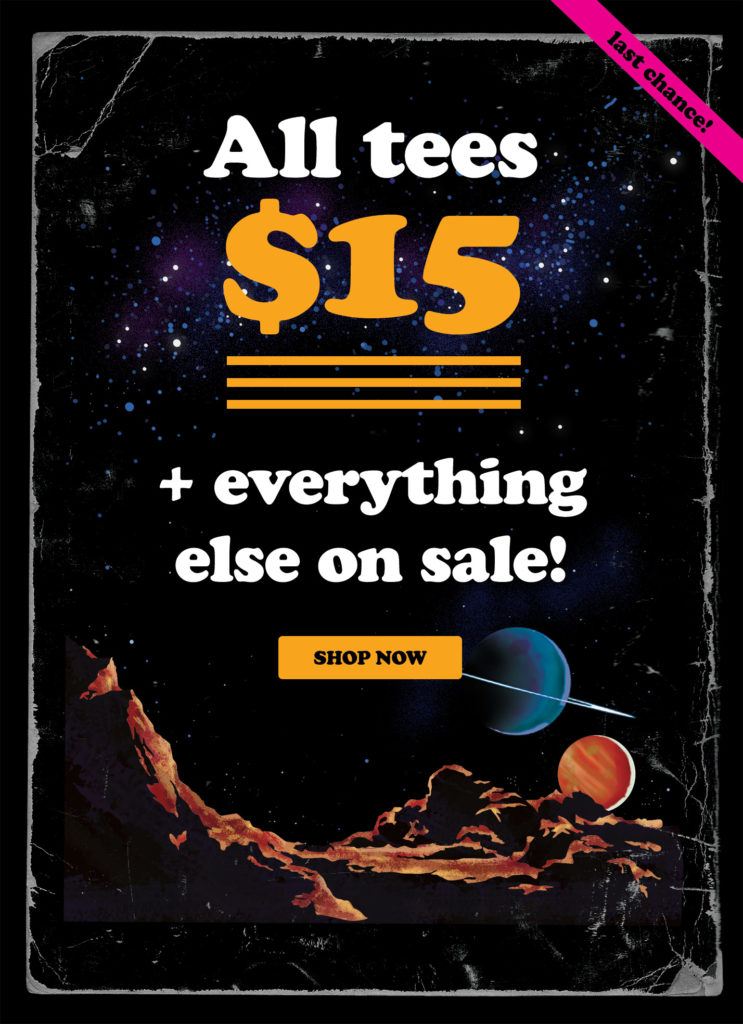
Last Chance Email
- Your last chance email should be sent on the last day of your sale and have a sense of urgency so folks know it’s truly their last chance to get one of your designs on sale.
- Keep the design simple and to the point and be sure to link directly to your Artist Shop URL.
Don’t be afraid to put yourself out there and try something new, especially when it can pay off (pun intended). Promotions benefit everyone! Your customer saves and you reap the rewards. Making new customers, building loyalty with existing ones, creating brand awareness, and learning what works and what doesn’t is the key to a successful promo! Gook luck and be sure to reach out if you have any questions. We’re here to support YOU!
Related Posts