
Have you ever scrolled through, say, Urban Outfitters’ Instagram, when you come across a picture of someone in the forest, and suddenly find yourself wanting to buy the whole outfit they’re wearing? It’s definitely not an outfit anyone would actually wear in the forest, it might not even be your style. But you see the image, associate it with a cool outdoorsy outfit, and want the outfit because you want to look like someone who has that outdoorsy lifestyle. That’s the power of knowing how to take lifestyle photos, friends.
Crappy product and lifestyle photography can make or break a sale, and engaging photos attract viewer attention you want. An eye-tracking test done by Nielson Norman Group found that people spent much more time looking at well-curated lifestyle photography over plain product photos. Solid photos can get people interested in your brand and products while also reinforcing your brand’s story. Which is key; a big part of selling your product is about selling the lifestyle and vibe it’s associated with. And one of the best ways to tell a story through photography is by taking *lifestyle photos.
*Here, by “Lifestyle photography” I mean models wearing or using your product in a scenario that conveys a certain lifestyle or experience, or your wall art displayed in a curated way in a staged room.
Why take lifestyle photography and not just product photos?
The vibes that we associate with brands we like have a powerful effect on us as consumers, and it’s a super important part of selling yourself and your brand. As Documentary Filmmaker Morgan Spurlock (Supersize Me) recently said in Ted Radio Hour’s “Brand Over Brain”:
“I don’t think we’re just seduced by brands, I think we’re seduced by the imagery that surrounds that brand. It’s that these pants are gonna make you slimmer, this drink’s gonna make you hotter, this perfume’s gonna make you sexier…We buy into the dream that surrounds that product much more than we buy into the product, and then once we start using it we start to believe in the dream of what that product does for us in a lot of ways.”
We buy into brands because we think they’ll get us closer to the person we want to be, the lifestyle we want to have, the vibe we want to give off. And lifestyle photography is a prime way of illustrating the lifestyle your product will offer to customers. Plus, when you have a Threadless Artist Shop, for instance, both your design and product photos are automatically created for you, leaving you more time to focus on lifestyle photos for your social media.
So how can you create lifestyle photos to sell your product and attract people to your brand in a cool way? Here are some tips:
Use models you’re comfortable with
It’s best to use models you’re comfortable with. Using friends for photoshoots, for example, is a great way to go about it. You don’t have to pay them (although throwing in a few free beers never hurt) and you’re comfortable enough with them to make the photoshoot organic and stress-free. Plus, you can make a fun day of it.
Show your product in action – “sell a lifestyle”
That Nielson Norman eye-tracking experiment I mentioned earlier found that people treated product photos and photos of real people as more important and engaging, and more or less ignored generic, stock photos.
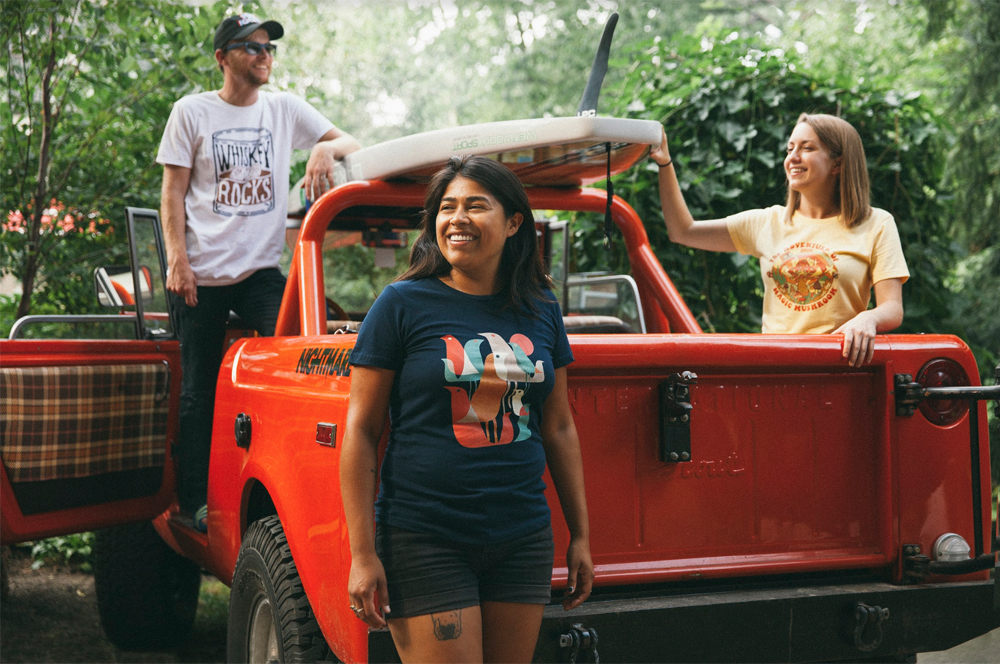
Stock photography has a weird fake-real-life look to it. Set your photography apart from stock photography – do a photoshoot of your models wearing your product and actively doing something. They could be hanging out together on a porch, chillin’ around a bonfire, even just kickin’ back for a movie night or playing D&D. This makes your photography unique, creates an experience and lifestyle that people would want to buy into (literally), invites them to a party they can be a part of (so to speak), and helps put an identity and personality to your brand. Show people doing things that people actually do…not just standing and laughing in a field (or hey, maybe you do that – to each their own).
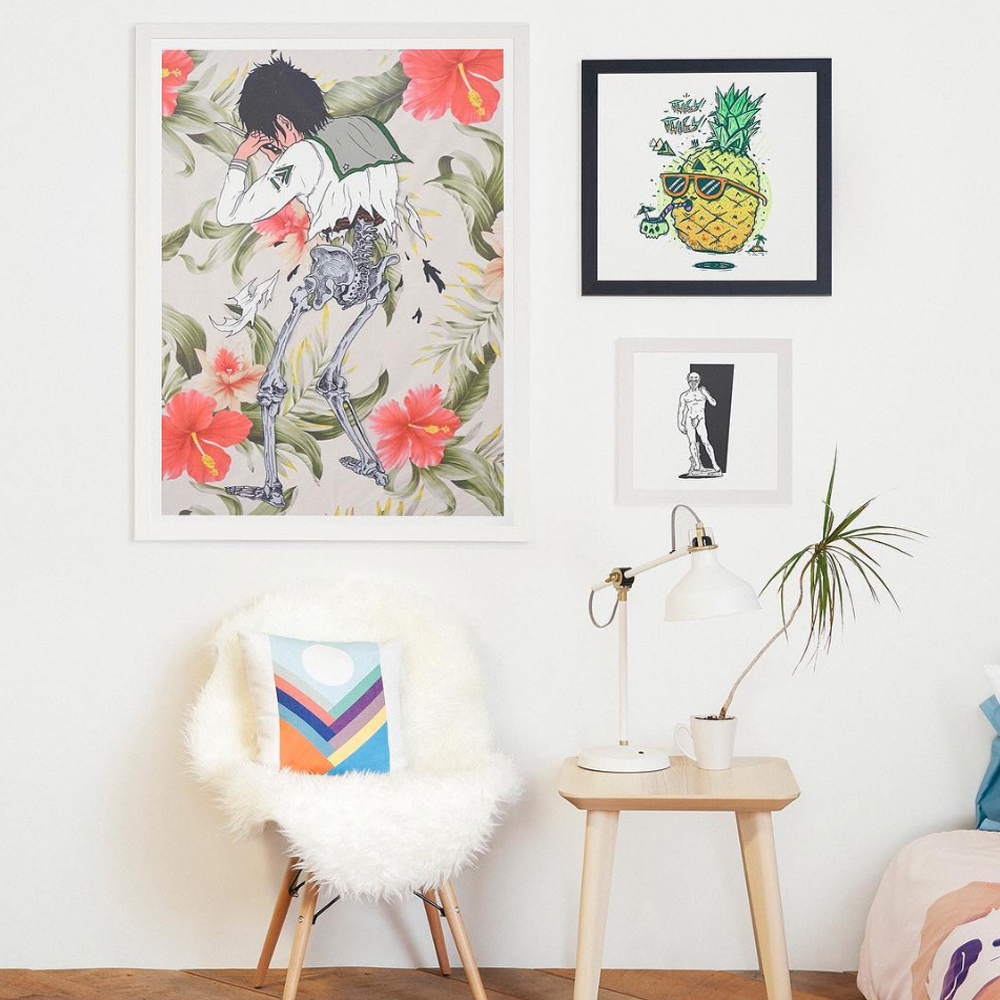
Or, if you’re trying to photograph your wall art products, curate them into a gallery wall, or even prop your framed wall art up on a table with several cool props around it and some choice lighting.
Combine Products You’re Trying to highlight
Just like you can display your products as both wall art and apparel on your Artist Shop homepage, do the same in your photos! For example, have your wall art hanging in the background and adding to the photo’s aesthetic when you take photos of people modeling your apparel!
CHOOSE An appealing LOCATION
“A picture says a thousand words” isn’t just a cliche phrase – it’s true. You don’t need a full lookbook to tell a full story – you just need a solid photo. Taking photos of your product in a unique and interesting location and showing people being a part of that location tells a story – hiking with friends, a summer getaway, etc. You’re associating your product with a fun experience that people want to be a part of.
Finding a cool backdrop location doesn’t mean traveling to Colorado to get those hiking shots, either. It can be as simple as highlighting a floral design by having your model walking around in or holding up a framed floral print in a greenhouse.
KEEP THE BACKGROUND SIMPLE
You want your product to stand out – you don’t want it to get lost in the background. Keeping the background as simple as possible while keeping it interesting in a way that draws attention to your product rather than away from it is crucial. Painted walls, certain murals, rustic wood or brick backgrounds, etc. can all be great backdrops. You can also use depth of field to highlight your model and product but throwing the background a little more out of focus (you can even do this with an iPhone most of the time by tapping what you want in focus – it automatically blurs the rest.)
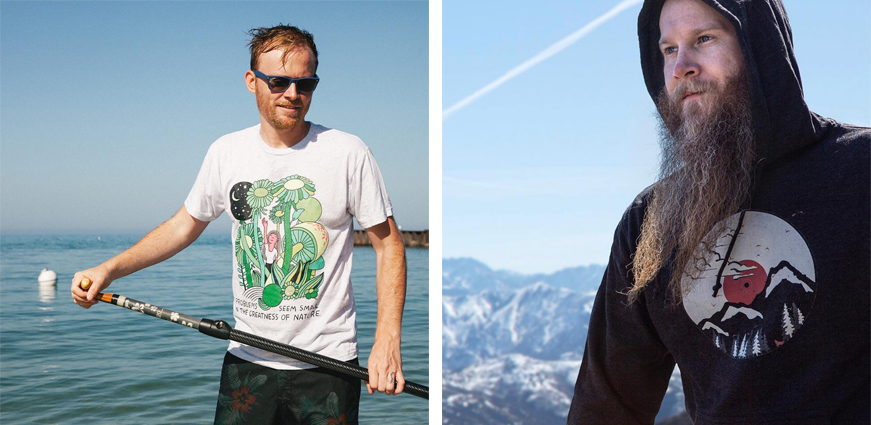
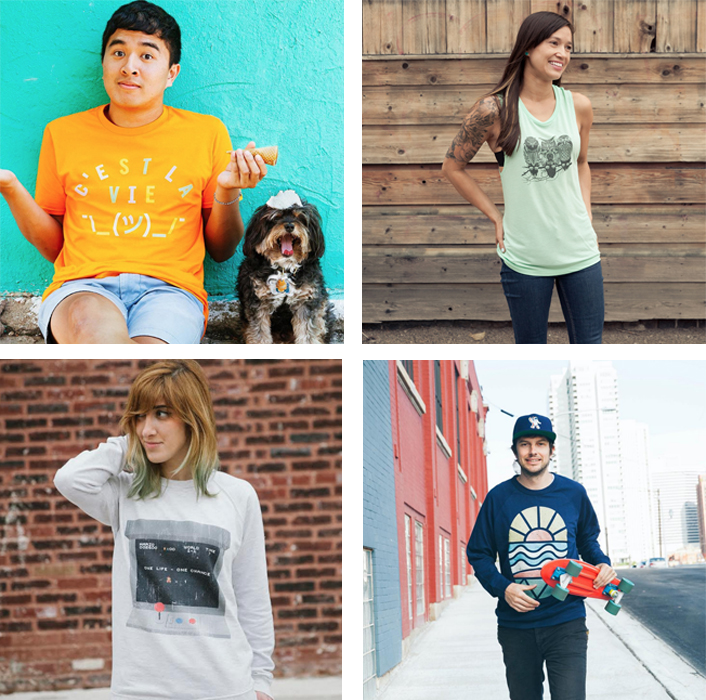
Keeping the background simple doesn’t mean sacrificing a cool location either. You can shoot in a cool location like a lake or scenic mountain background while not drawing attention away from your subject (see examples above!)
Tell a relevant story
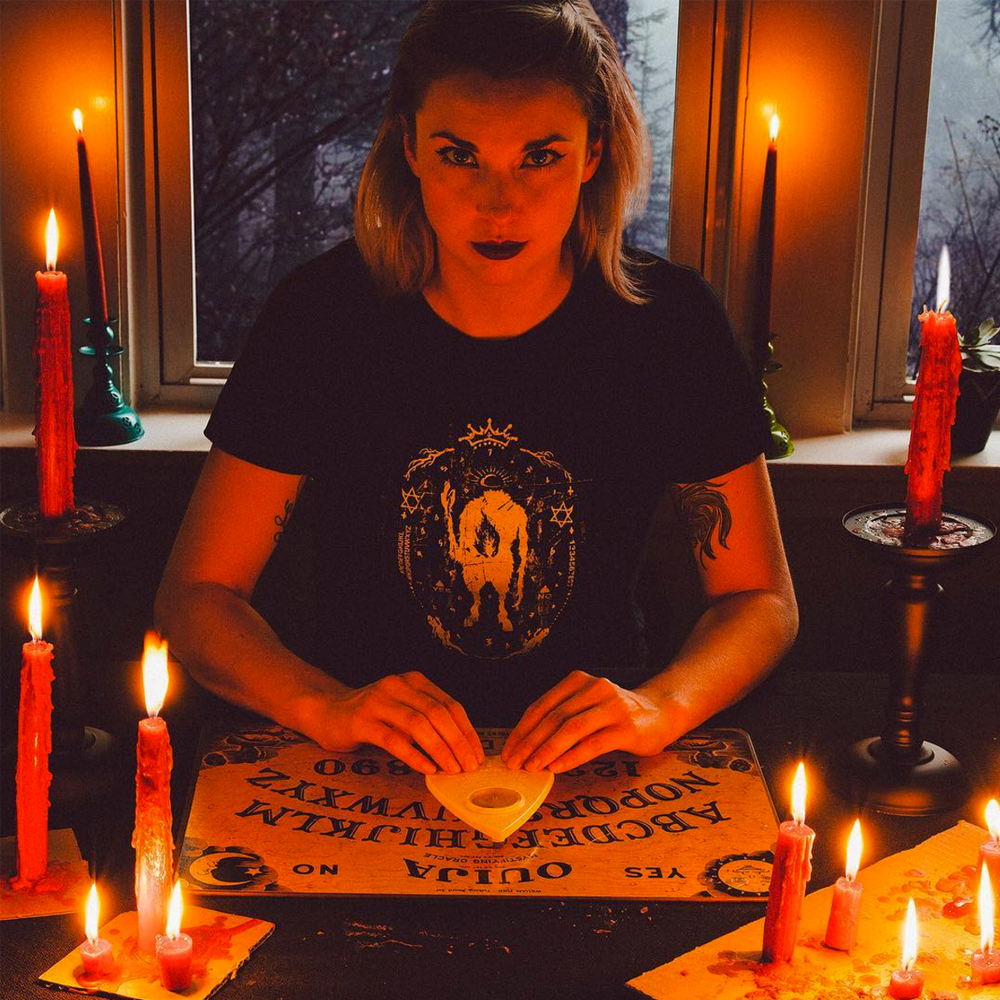
If your design has a theme to it, try telling a story in a photo based around that design. Is it a music design? Take photos of it on a model looking through a records bin at a record stores, or listening to some tracks. Is it an outdoorsy design? Do a hiking photoshoot where your models wears the shirt while hiking, or photograph friends around a campfire wearing the shirt. Space design? Might be time for a planetarium trip!
And for all your photography, the more you can stick to a consistent feel or style throughout all photos, themed or not, even just through what edits you put on them and what filters you use, the better.
Use customer shots!
Encourage your customers to post photos of themselves wearing your product (and to tag you)! Not only does it make them happy that you’re sharing one of their photos (of course, always ask if it’s ok to share the photo first!) and shows them you care; it also shows others that people dig your stuff enough to buy, wear, and share it. And, if it’s solid photography, boom: you have a lifestyle shot that isn’t staged – it’s real and showing your product in action.
Another thing you can do is have your friends and family wear your stuff, take some pictures of themselves rockin’ your designs, and share them for you to regram/post. No shame in that! And if you’re extra nice, you can order samples of your own product to have all ready for your family and friends to check out and buy from you. Better yet, if you have an Artist Shop, you can order your own products at the base fee so that you can order as many or little as you want of your own products without breaking the budget.
Use props (sparingly)
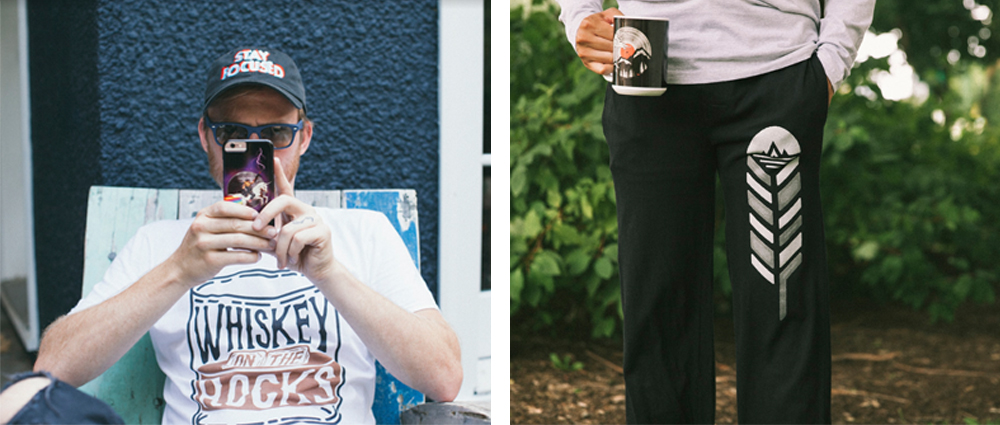
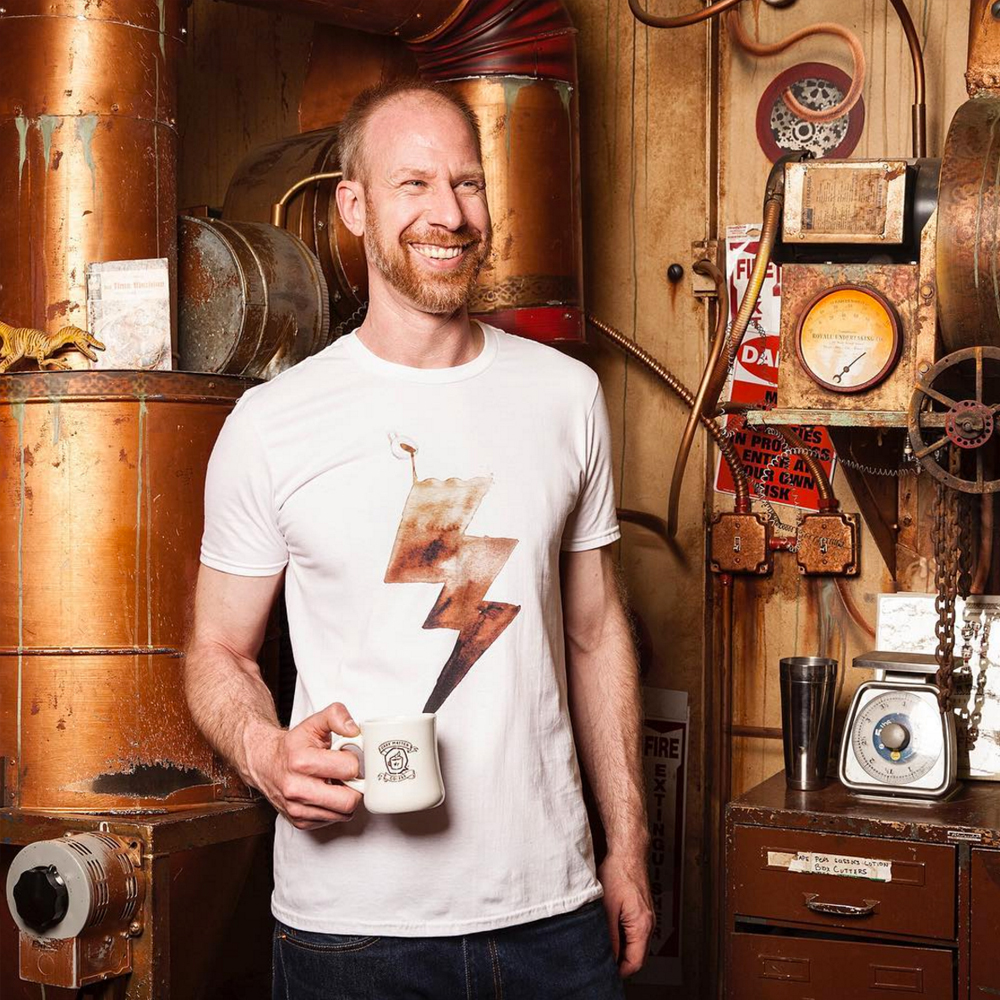
It’s ok to include props in the shoot, as long as they’re not taking away from or covering what you want people to focus on: your product! The key with props is that they 1: add to the image and lifestyle you’re selling and that 2: they make sense with it. You can convey a lot about what someone’s doing or their style with just one prop or accessory. In the photo to the right, for example, the props used all add to the aesthetic of the tee design, which remains front-and-center.
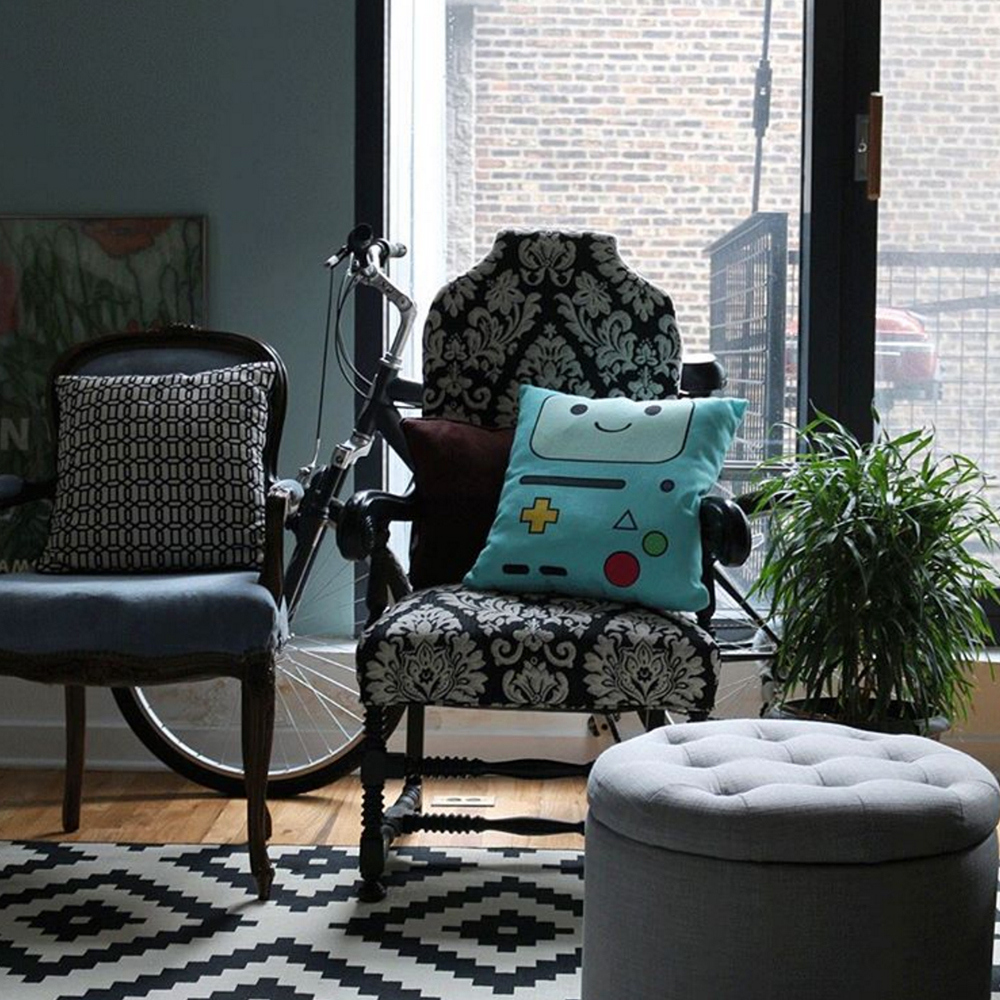
Think about, for example, when you stage a room if you’re shooting photos of a gallery wall made up of your wall art. If there’s too much to focus on in the room, people won’t pay attention to the actual art you’re trying to sell. Dress up a room with just a few things that give it a nice aesthetic (a few small plants, maybe a few books, etc.), but not with so much that people have too much to focus on.
Get the right lighting
Lighting. Is. So. Key. You don’t need a full lighting set up to get some really good lighting. You can even shoot really rad photography on an iPhone.
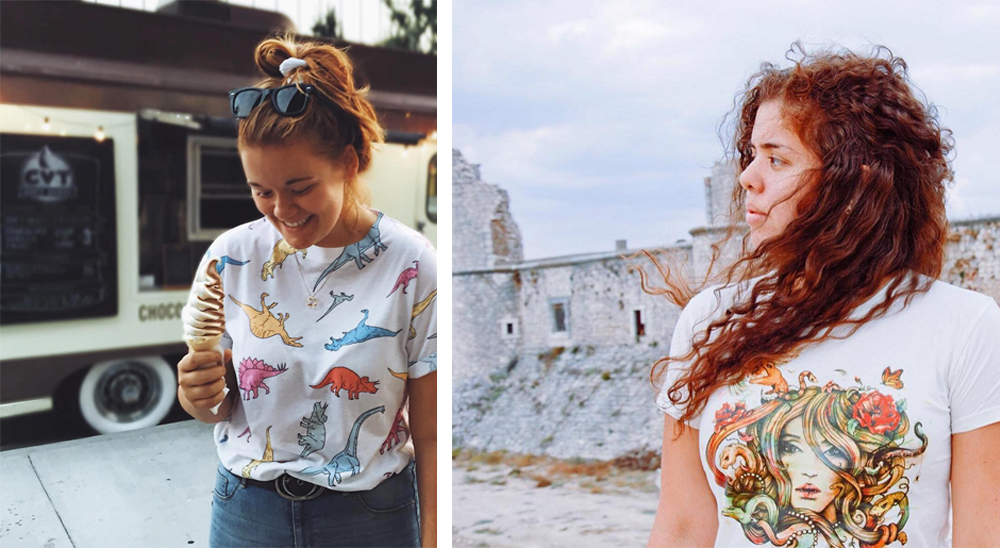
Using natural lighting and taking advantage of daylight always gives a soft, nice lighting effect on your subject and product (see above!) Early morning and late afternoon light is best to shoot in – afternoon sunlight can get harsh and a little too direct. Take advantage of what’s called “the golden hour” of photography, which is in the hours right after sunrise or just before sunset when the sunlight is softer and warmer.
PLAN PLAN PLAN
If you’re going to do a lifestyle photoshoot for your products, the key is to plan the hell out of it. Don’t wait until the day of to figure out where to take the photos – go location scouting beforehand. Have a specific plan as far as how long it will take to get there, how long you want to take photos for (and how long to keep your friends/models for), where you’ll be going, and how you’re going to get there. Bring any props you might need. Photoshoots can be the most stressful thing in the world if they’re not well planned out – save yourself a ton of time, hassle, and stress by pre-planning.
SOURCES:
- “How to Use Photos to Sell More Online” – Smashing Magazine
- “How to Photograph Your Product to Enhance Your Online Sales in 4 Easy Steps” – Digital Photography School
- “True Lifestyle Photography and How to Get the Most Out of Your Session” – fstoppers
- “How to Shoot Stunning Fashion Photography Portraits with Your iPhone” – iPhone Photography School
- “Shoot to Sell: Taking Better Photos for Ebay, Etsy & Instructables” – photojojo
- “7 Easy Steps to Create Professional Apparel Product Photos With Live Models” – pixelz
We’re an artist community built on the power of helping each other succeed — if you’re reading this and have tips of your own to share, please do so in the comments! Thank you!
Illustrations done by the amazing Katie Lukes
Related Posts